[Support] How to set up conversion tracking?
Note: if you're using a 3rd party integration like Google Analytics or Segment, read detailed instructions here:

Contents:
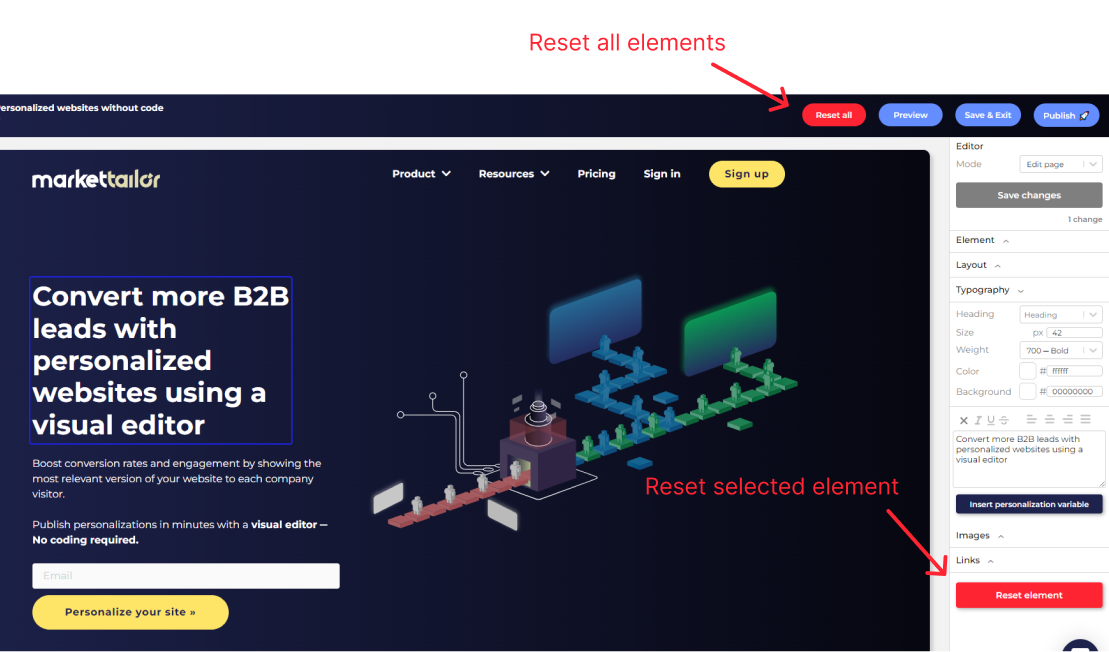
You can edit text, image, button, and link elements by clicking them in the visual editor and then changing the content from the right-side menu.
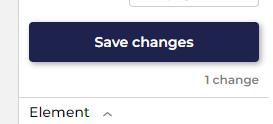
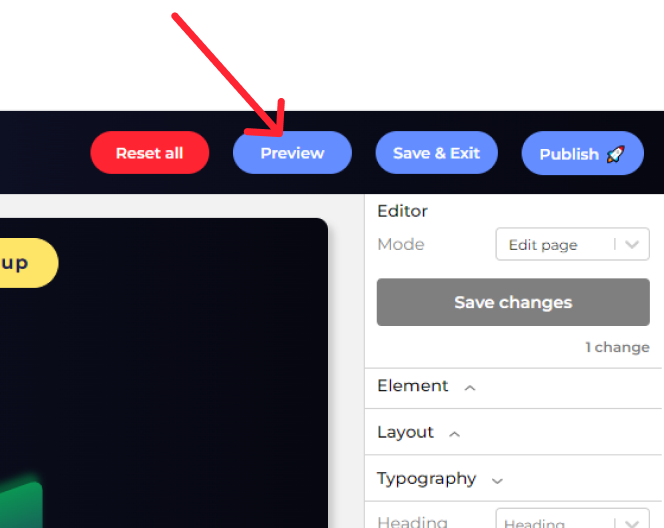
You can see how many changes you have on the page and you need to save your changes manually to proceed with the personalization and preview.
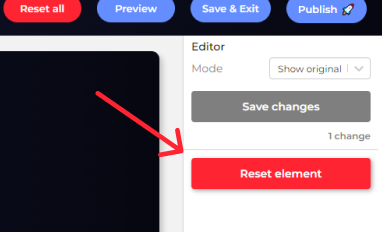
You can reset your personalizations by clicking the element you want to reset and clicking the Reset Element button from the bottom of the right-side menu. You can also reset all your personalizations at once.
⛔ Resetting all elements also saves your changes so you cannot recover the changes.
If you have deleted an element from the Element menu, to reset that element you need to:
Click the element to reset
Click reset element
To preview a personalization on your website you need to
Have the script installed on your website
Have your changes saved
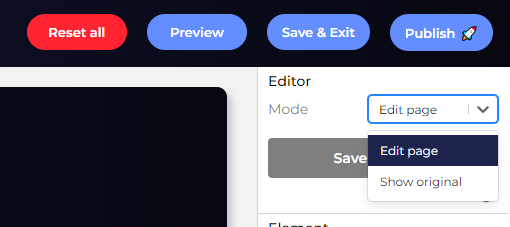
You can always view your non-personalized page by changing the editor mode to Show original.
You can also use this editor mode if you have deleted an element you now want to reset.
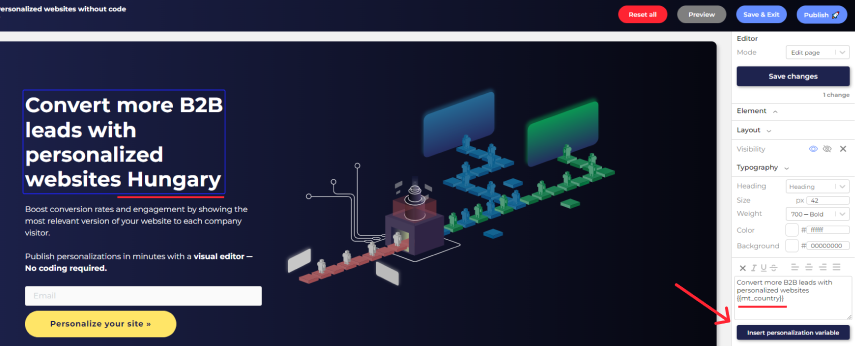
To use dynamic data on a personalized page,
Select any text-based element
Open the Insert personalization variable menu
Select the data you want to use - We use example values that are generated randomly
To use data from your CRM, you need to have integrated your CRM to Markettailor.
⚠ Note that we need to have identified the company or contact in some way to be able to use the CRM data. Read more from the advanced personalization variables section.
More advanced personalization variable usage
Check out the advanced usage of personalization variables.
Currently the Logo personalization is only supported for customers using Clearbit.
To use the company logo of an identified company, you need to have integrated any Company Lookup tool, and be on a premium version of AbmaticAiwith available Company Lookup quota.
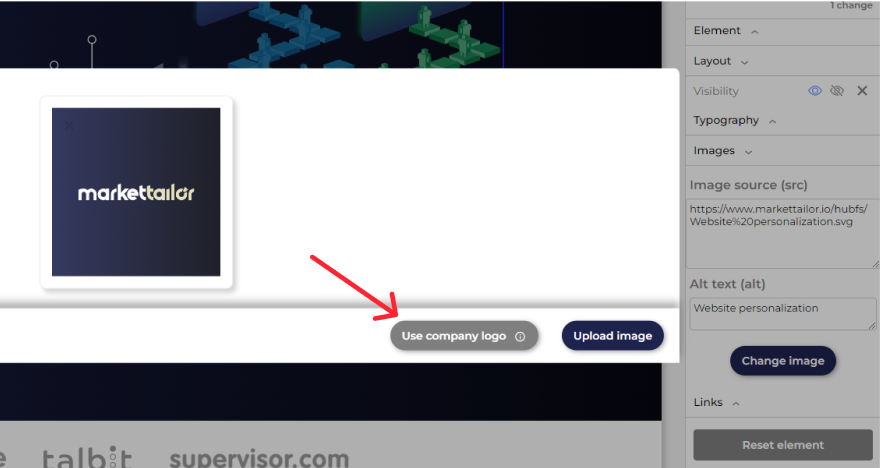
To use a company logo on a page,
Select an image element on a page
Click the Change image menu
Click Use company logo
We use the AbmaticAilogo as an example logo in the personalization, but the logo is dynamically changed when we identify the visitor.
Note: if you're using a 3rd party integration like Google Analytics or Segment, read detailed instructions here:
As a business owner, it's important to understand that not all customers are created equal. Different industries have their own unique needs and preferences, and if you want to effectively reach and engage your target audience, it's essential to personalize your website for each industry. In this...